Tuesday, November 29, 2011

Vanilla is NOT plain

I've fallen in love again.

For my birthday a few months ago I hinted that my husband could get some vanilla beans if he was stuck for a gift idea.  He remembered and I unwrapped 10 beautiful vanilla beans on my birthday.  I've experimented and have decided that my favourite thing to make with vanilla beans is Very Vanilla Cupcakes with Vanilla Bean Buttercream.  The flavour in these cupcakes has caused me to staunchly proclaim that vanilla is its own very wonderful flavour.  It is not "plain" by any means!

I use a slightly altered version of Billy's Vanilla, Vanilla Cupcake recipe (I use regular flour with 3 Tbsp of cornstarch in place of 3Tbsp of flour) and the Wilton Buttercream Icing recipe.  Instead of one teaspoon of vanilla extract I use a nice, fat vanilla bean, scraped clean.  I think I actually made my husband do a double take the other day as I squealed with delight at the plump bean that I was scraping.  It was so full of vanilla-goodness!

And the way the cupcakes look with those little flecks of vanilla bean...  Simply stunning.

 
But the best part of it all is when I make them for my son's class (it was his birthday after all) and the kids come up and hug me to say thank you for the delicious cupcakes.  I do love when my baking can make people happy.  

And vanilla beans will always make people happy!

Monday, November 7, 2011

Homemade pasta, lasagna

My original culinary inspiration, my mother, lives eight hours away.  The next best thing is her sister, my aunt, who lives about 15 minutes away.  We each have busy lives and don't get together too often, but we manage once in a blue moon.  One of our visits resulted in some beautiful, homemade spaghetti.  That was several years ago.  I have since made pasta with a fellow blogging friend and received a second -hand pasta maker from my aunt.  I've tried a few different things while making pasta, from pierogies to roasted red pepper linguini to lasagna.  I have to admit that making lasagna is my favourite, simply because lasagna noodles are so expensive.  I do love saving money.

Fast forward to the other day, when I was making a special meal for a special family member.  The request was made for lasagna.  The plan was to make fresh pasta, fresh sauce and freshly ground beef.  I set to work making the dough ahead of time, giving it plenty of time to rest. 

I went to pick up a fresh, lean roast from the store.  The accident on the nearby highway had locked up the traffic on the city streets, wasting about an hour from my lasagna prep time.  I got back in time to roll out the noodles and grind the meat, but the sauce would have to come from a can.

I made the white sauce that I like to substitute for ricotta cheese and quickly assembled my lasagna.  35 glorious minutes later it came out looking mouth-wateringly divine.
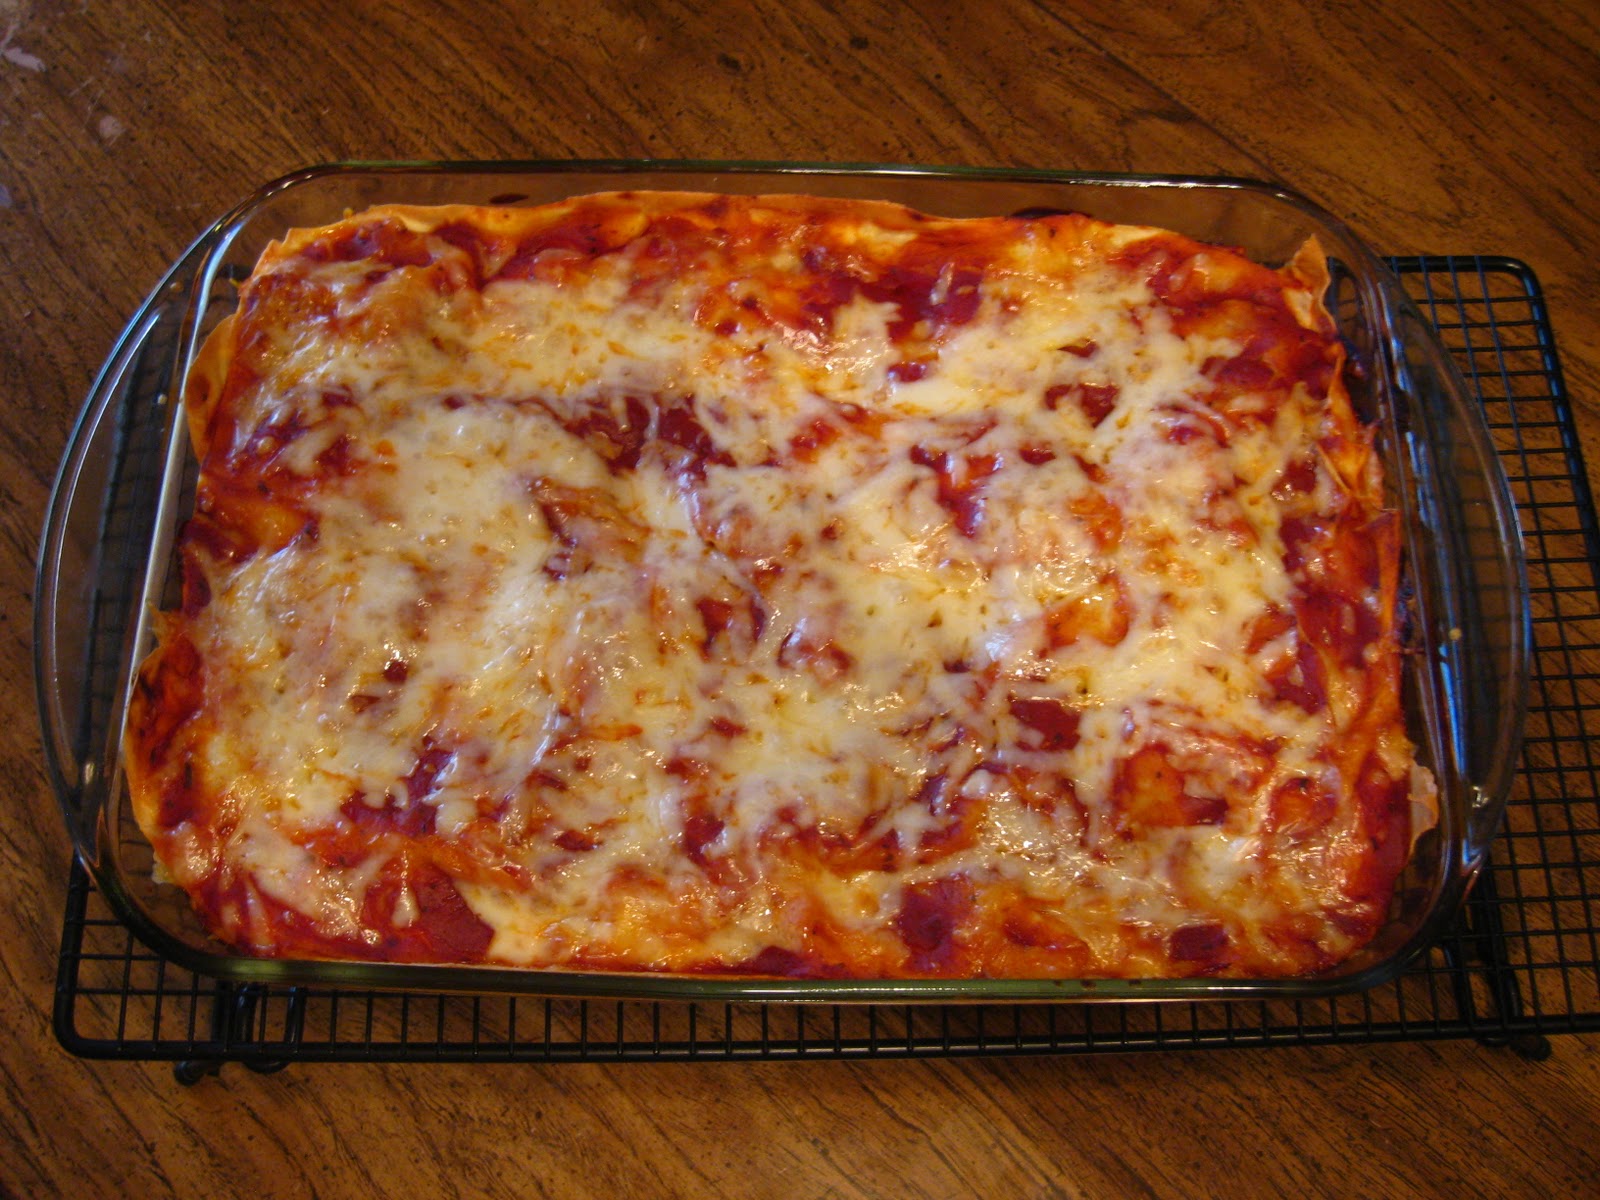
I had some leftover noodles so I cut them into bite-sized pieces and made a lasagna casserole.  (It's in the oven as I type.  I can hardly wait to taste it!)

Our special guest deemed it the best lasagna he has ever eaten (he's eaten quite a bit of lasagna in his years.)   My husband, when prodded, said it wasn't as good as the lasagna we had in Italy two years ago, but it was pretty good.  I can't compete with a whole country!

Wanda's Homemade Lasagna

Pasta:
3 1/3 cups flour
5 eggs
1/4 tsp salt
Combine in food processor (or by hand)  Add flour if needed.  Help it come together with your hand if necessary.  Allow dough to rest, greased in olive oil and wrapped in plastic wrap, for at least 30 minutes.  Cut into about 10-12 pieces to roll through pasta machine.  Drop a few pieces at a time into boiling water.  Hang until ready to use if not using immediately.  (They will stick together if you don't.  Try tossing with oil as they come out to decrease their chance of sticking if you can't hang to dry.)

Tomato Sauce
Saute 1/2 an onion in olive oil
Add 28 oz diced tomatoes
Season as desired.  I put in about 1 tsp oregano and basil, and salt and pepper to taste.  Add 2 cloves of garlic after sauce has cooked down somewhat.

Lasagna Alfredo Sauce
1/4 cup butter
3 tbsp flour
Make a roux with butter and flour.  Add enough milk to have a thick, spreadable sauce, maybe 1 cup.  Add 1/3 cup parmesan cheese and stir over low heat until cheese is incorporated.

Fry some ground beef with a generous sprinkle of oregano and basil.  Grate about 1 1/2 cups of mozzarella cheese.  Put some tomato sauce on bottom of 9x13 pan.  Put a layer of noodles until bottom is covered.  Spread 1/3 of remaining sauce.  Top with 1/2 of the beef and 1/2 cup cheese.  Put a layer of noodles and spread all of the alfredo sauce over it.  Top with noodles again.  Spread 1/2 of remaining tomato sauce and sprinkle the remaining beef over it.  Top with 1/2 cup of cheese and the final layer of noodles.  Spread the remaining sauce and then cheese over the noodles.  Bake uncovered at 350 F for 30-40 minutes.  Allow to rest at least 10 minutes before cutting so the layers can settle into each other.

Lasagna Casserole

Toss the remaining noodles (cut to bite-sized) with 1 recipe of tomato sauce, 1 cup mozzarella cheese, 1 lb ground beef (seasoned).  Pour into a large baking dish.  Top with lasagna alfredo sauce and 1/2 cup cheese.  Bake at 350 F for 30-40 minutes.

Saturday, November 5, 2011

Born to Hand Chive

In light of an impending frost, we decided to get the last of the produce out of the garden.  It's a rather small garden so all we really had left was a handful of green onions.  Our garden is relatively new and malnourished, so our onions were rather sad and skinny.  They tasted great though (much more flavourful than the chives by our door step), so I was happy to have them volunteering for service in my kitchen.  After making a couple stir-fries with the green onions, I looked at the bowl of the remaining onions and tried to figure out how to make them useful.  I decided that they needed a longer tenure in my home, so I decided to try drying them.

I turned my oven to 200 F, put the onions on a baking sheet and placed them in the oven.  About 20 minutes later my house smelled amazing.  I thought someone down the street was making French Onion soup (until I remembered that it was my own oven giving off that glorious smell.)  After 30 minutes, the onions were dried and ready for whatever duty I placed on them. 

I haven't made anything with them yet, but I can hardly wait.  I'm thinking a nice soup or some baked potatoes would be the perfect dish for these onions.

Did you dry any herbs or veggies this fall?  How did it go?

Tuesday, November 1, 2011

Gluten-Free, we stand on guard for thee

My husband's parents recently became Canadian citizens.  To celebrate, I made a cake!  But this couldn't be just any cake.  My mother-in-law 's diet is wheat-free and dairy-free.  So this cake needed to be safe for her but enjoyable for all.  (Wheat free can be quite grainy or just fall apart easily.)

I decided on this carrot cake.  I find that the carrots hold the cake together quite well.  My original recipe called for oil, but I decided to do a combination of oil and apple butter.  (I've got it, why not use it?)  The result?  A pleasingly moist cake that didn't fall apart.  Everyone enjoyed it.


Gluten-Free Carrot Cake

Ingredients:

• 2 cups sugar
• 4 eggs
• 3/4 cup light olive oil 
• 3/4 cup apple butter
• 2 tsp vanilla extract
• 1 cup rice flour
• 1/3 cup tapioca flour
• 2/3 cup potato starch 
• 2 tsp xanthan gum
• 2 tsp baking soda
• 2 tsp baking powder
• 2 tsp cinnamon
• 3/4 tsp salt
• 3 cups freshly grated carrots

Preparation:
Preheat oven to 350° F / 176° C

Use two round 9-inch cake pans, one 9x13 pan. If using round cake pans, lightly grease and place a circle of parchment in the bottom of the pan for easy removal.

1. Cream sugar and eggs in a large mixing bowl with an electric beater or stand mixer. Add oil, apple butter and vanilla and beat just until smooth.

2. In a separate bowl combine gluten-free flour mix, baking soda, baking powder and salt. Whisk to combine. Add the dry ingredients to the wet ingredients and beat until blended.

3. Stir in grated carrots. Pour the batter into prepared pans.

4. Bake in preheated oven for 40-55 minutes or until a toothpick inserted into the middle of the cake comes out clean. Cool on a wire rack. 

5. When cake is cooled, frost with desired frosting.  (I used the basic Wilton Buttercream recipe with water.)